

Before erasing your old phone, check that you can sign in to important accounts using the new one. Transferred photos and app icons do not yet confirm that two-factor authentication works. A service you use only every few months is particularly easy to overlook.
This guide covers moving codes in Google Authenticator and Microsoft Authenticator. SMS, banking approvals and passkeys need separate checks. If you use passkeys, our passkey explainer covers that different sign-in method. The instructions below were checked against official documentation on September 8, 2026.
1. Make a short list before moving anything
Open your authenticator and list the services and their usernames. Start with primary email, your password manager, work accounts and cloud storage. Give each entry two checkboxes: “new-phone sign-in verified” and “backup method available.” Do not copy passwords or the codes themselves into this list.
Your backup route should let you sign in without the old phone. If opening the authenticator’s cloud backup requires a code available only on that phone, you are not ready to move. Check an independent sign-in method for the account holding the backup. Our password-manager guide covers organizing the vault itself.
For Google, open account settings → Security & sign-in → 2-Step Verification → Backup codes. Keep them somewhere secure outside the phone. Each code works once; generating a new set invalidates the previous set. Downloadable backup codes are unavailable in the Advanced Protection Program. Google’s backup-code instructions.
2. Choose your transfer route
Google Authenticator. Google’s instructions offer two routes. Synced codes appear after signing into the same Google Account inside the app on the new phone. Local codes require the old device with an updated app: menu → Transfer accounts → Export accounts; select entries. On the new phone: Transfer accounts → Import accounts; scan the displayed QR codes. Do not delete synced entries individually on the old phone: deletion propagates to other devices.
Use the export QR code only to transfer directly between your own devices. Do not publish it, send it to a support chat or upload it to an AI service for “checking.” If you need help with an error, describe the message without including codes or secret information.
Microsoft Authenticator: back up first. Microsoft supports restoring only within the same platform: iPhone → iPhone or Android → Android. On the old Android phone, enable Settings → Cloud Backup and check the selected personal Microsoft account. For iPhone, Microsoft lists iCloud Drive, iCloud Keychain, iCloud Backup and permission for Authenticator in the Saved to iCloud list. Update Authenticator on the old iPhone and open it at least once before transferring.
Then restore. On the new Android phone, choose Restore from backup / Begin recovery before ordinary sign-in and use the account selected for the backup. On iPhone, follow Microsoft’s separate iCloud restoration instructions. Work, school and personal accounts using passwordless sign-in may return only as account names and require signing in again. An entry appearing in the list does not mean setup is complete.
3. Handle platform changes and work accounts separately
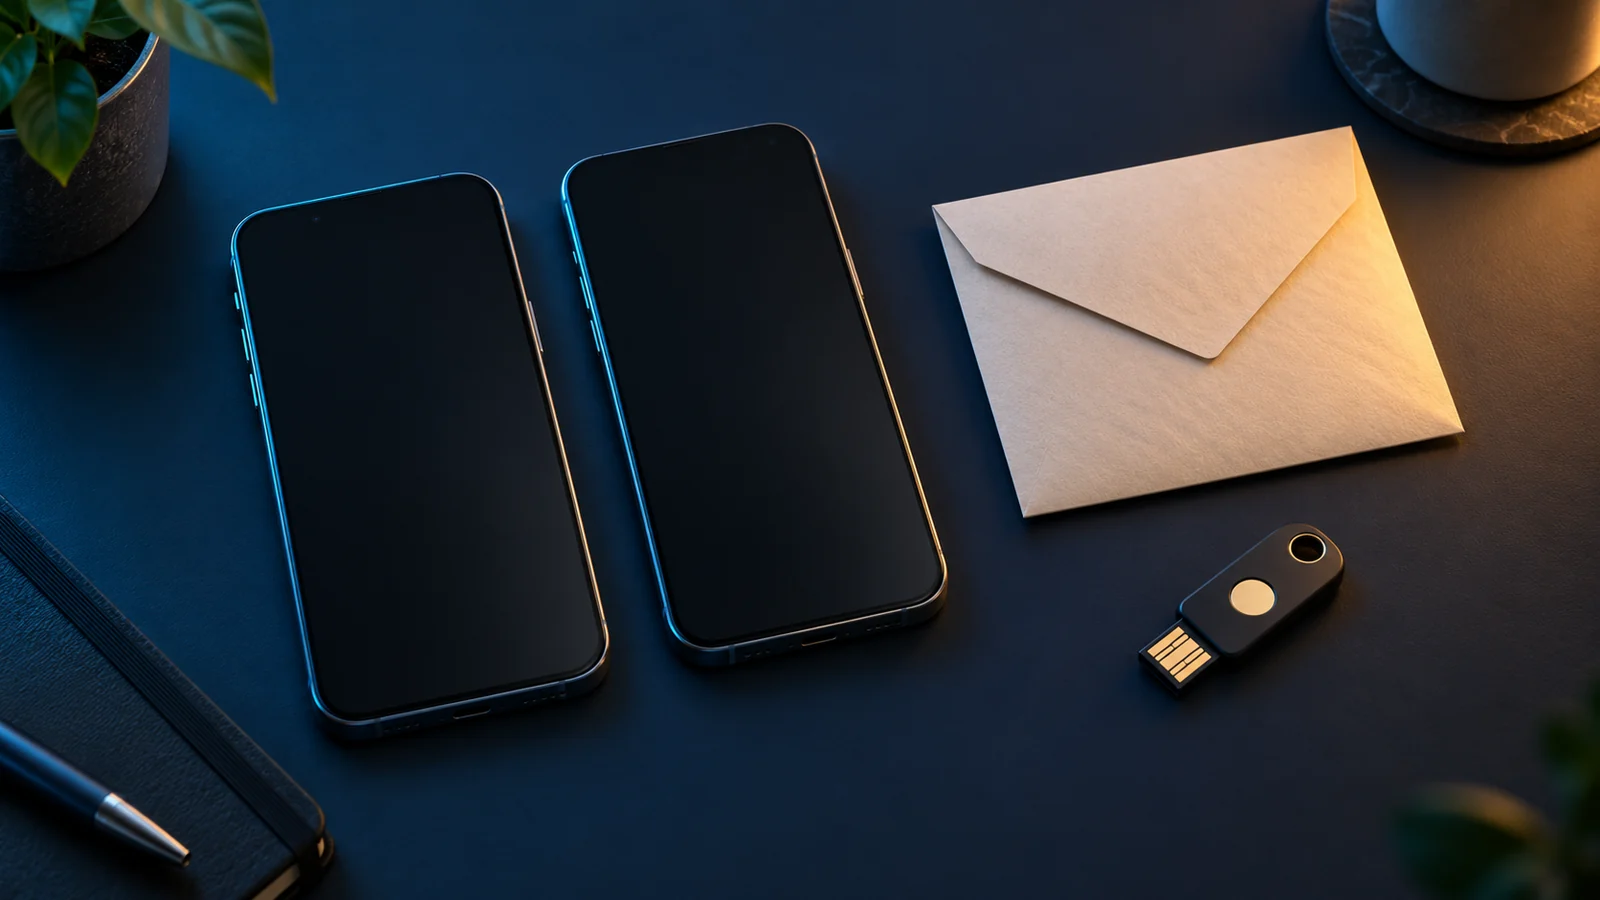
When switching between iPhone and Android with Microsoft Authenticator, plan to add accounts again. While the old phone is available, open each service’s security settings and find the option to change or add an authenticator. Scan the new QR code with the new phone and finish verification on the website. Microsoft documents adding different account types separately. If a service allows only one authenticator, prepare its backup sign-in method first.
For a Microsoft work or school account, open mysignins.microsoft.com/security-info and add a sign-in method your organization permits. Available options depend on its policies. If self-service setup is blocked, contact your administrator before handing over the old phone. A personal Google backup code cannot recover a Microsoft work account.
4. Verify the result while keeping the old phone intact
Use this practical check for the list you prepared. Keep your existing working session open in case you need it to correct a setting.
- On your own computer, open a separate private browser window and enter the service’s address yourself.
- Perform a fresh sign-in using approval or a code from the new phone. If the site opens your account without a second step, that attempt has not tested the authenticator.
- Mark success against the correct username. Comparing the entry lists in two apps is not enough.
- Confirm that your backup route is available without the old phone. If you test a single-use backup code successfully, mark that code as used.
If the old phone is already unavailable
Check whether codes were synced or backed up. Without either, recover access through the service itself. Google may offer a previously registered security key, a passkey on another device, a backup code or another permitted method; otherwise use official account recovery. Available routes depend on earlier settings. Installing a new authenticator does not by itself recreate lost entries.
When the old phone is ready to prepare for sale
Once important sign-ins and independent recovery work, finish transferring your other data. For iPhone, follow Apple’s procedure before selling or giving it away: back up, transfer, sign out and erase the device. If your number is changing too, add a current trusted number beforehand.
On Android, a factory reset removes local data and apps. First check backups, access to your Google Account and the reset instructions for your manufacturer. This guide is complete when the accounts you need work with the new phone and your fallback no longer depends on the old one.



Join the conversation
Stay on topic and respect other readers. Your first comment may appear after editorial review.